
Giving an Old Door New Life
By Nathan Hawkins
Those of us living in an old house have been preceded by homeowners who have left their mark in some way. Whether it’s a light fixture, a kitchen remodel, or even an entire addition to the structure, these changes over the years help give old houses their character. Not all alterations age well, however, and some can diminish the historical integrity of the house. Our family had been dealing for years with one such problematic alteration in our c. 1900 American Foursquare, involving several kitchen doors. Sandwiched between layers of plywood veneer, the heavy, unattractive doors needed to be dealt with, but whether to hire a professional to refinish them or replace them entirely was a matter of some debate. In the end, my mom and I took it upon ourselves to restore the doors.
The problem
It was the 1950s, and a previous owner, eager to modernize the house’s aesthetic, laminated a flat plywood sheet over the doors’ original paneled surfaces. Trendy at the time, decades later the modification was showing its age, and the slab-like doors clashed with the delicate woodwork in the rest of the house.
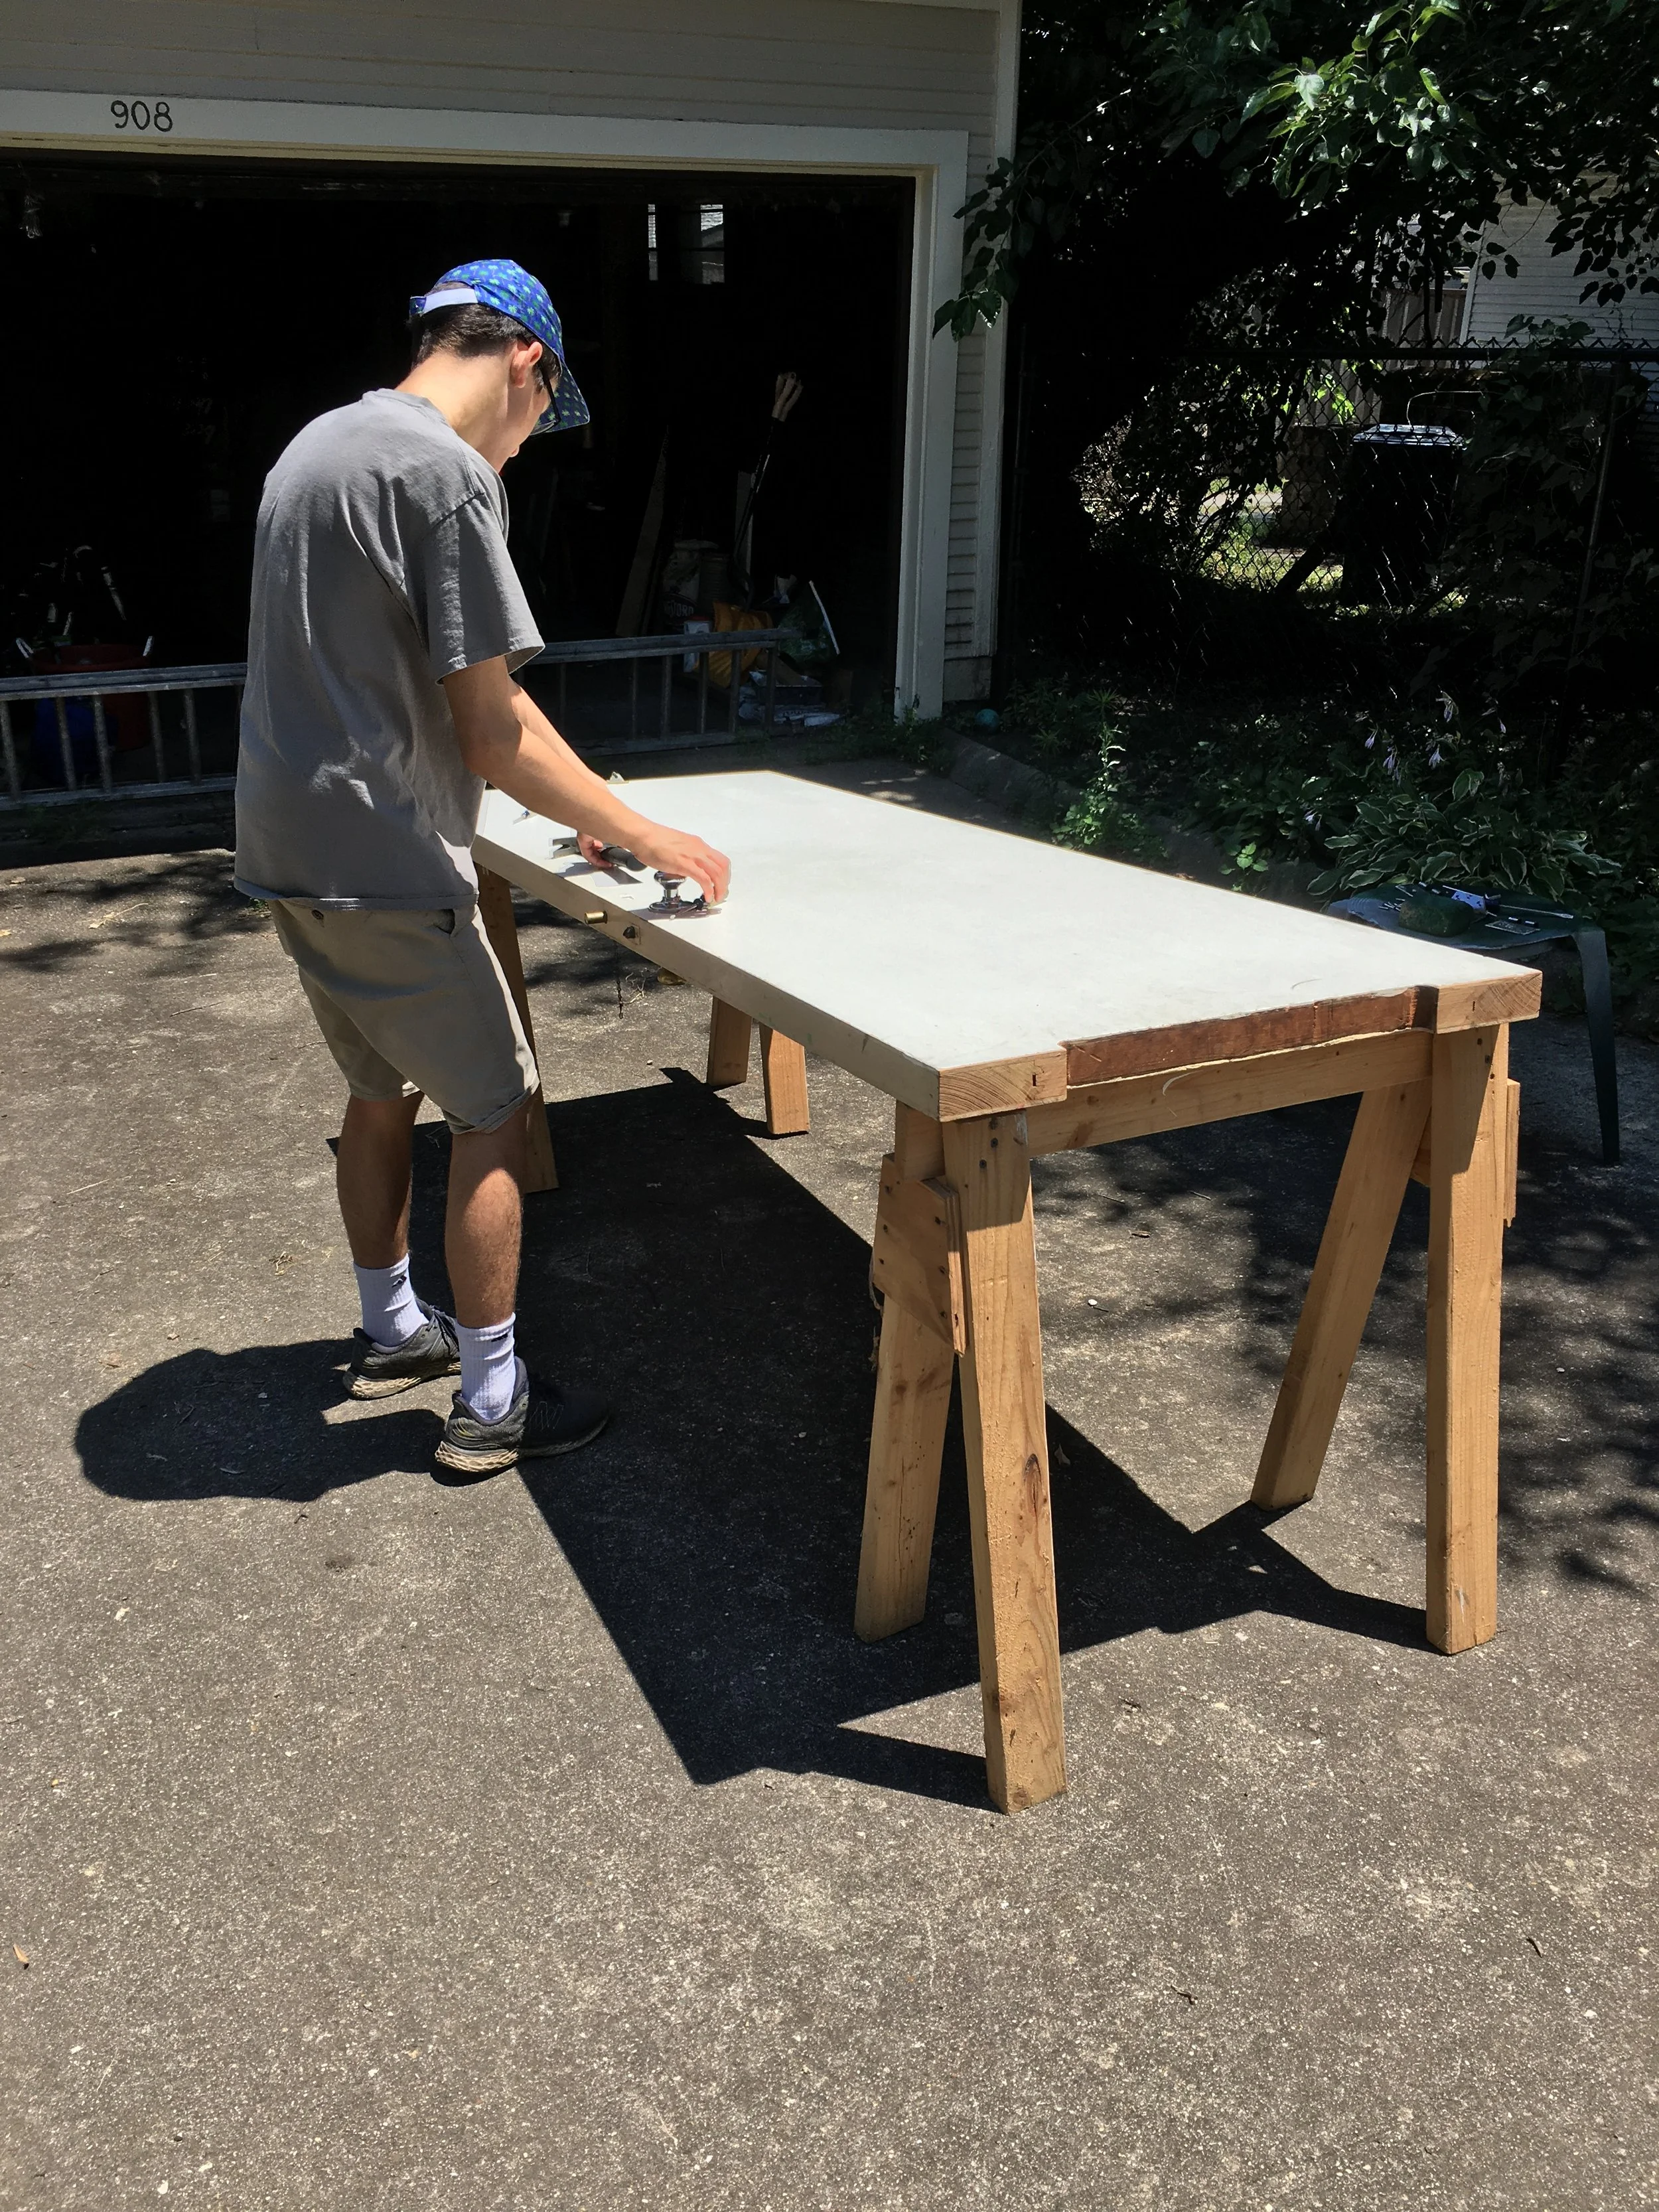
With help from YouTube and encouragement from a FGHD neighbor, the door was brought down, the hardware removed, and the door put on sawhorses in the backyard so the veneer could be more easily removed.
Skin It
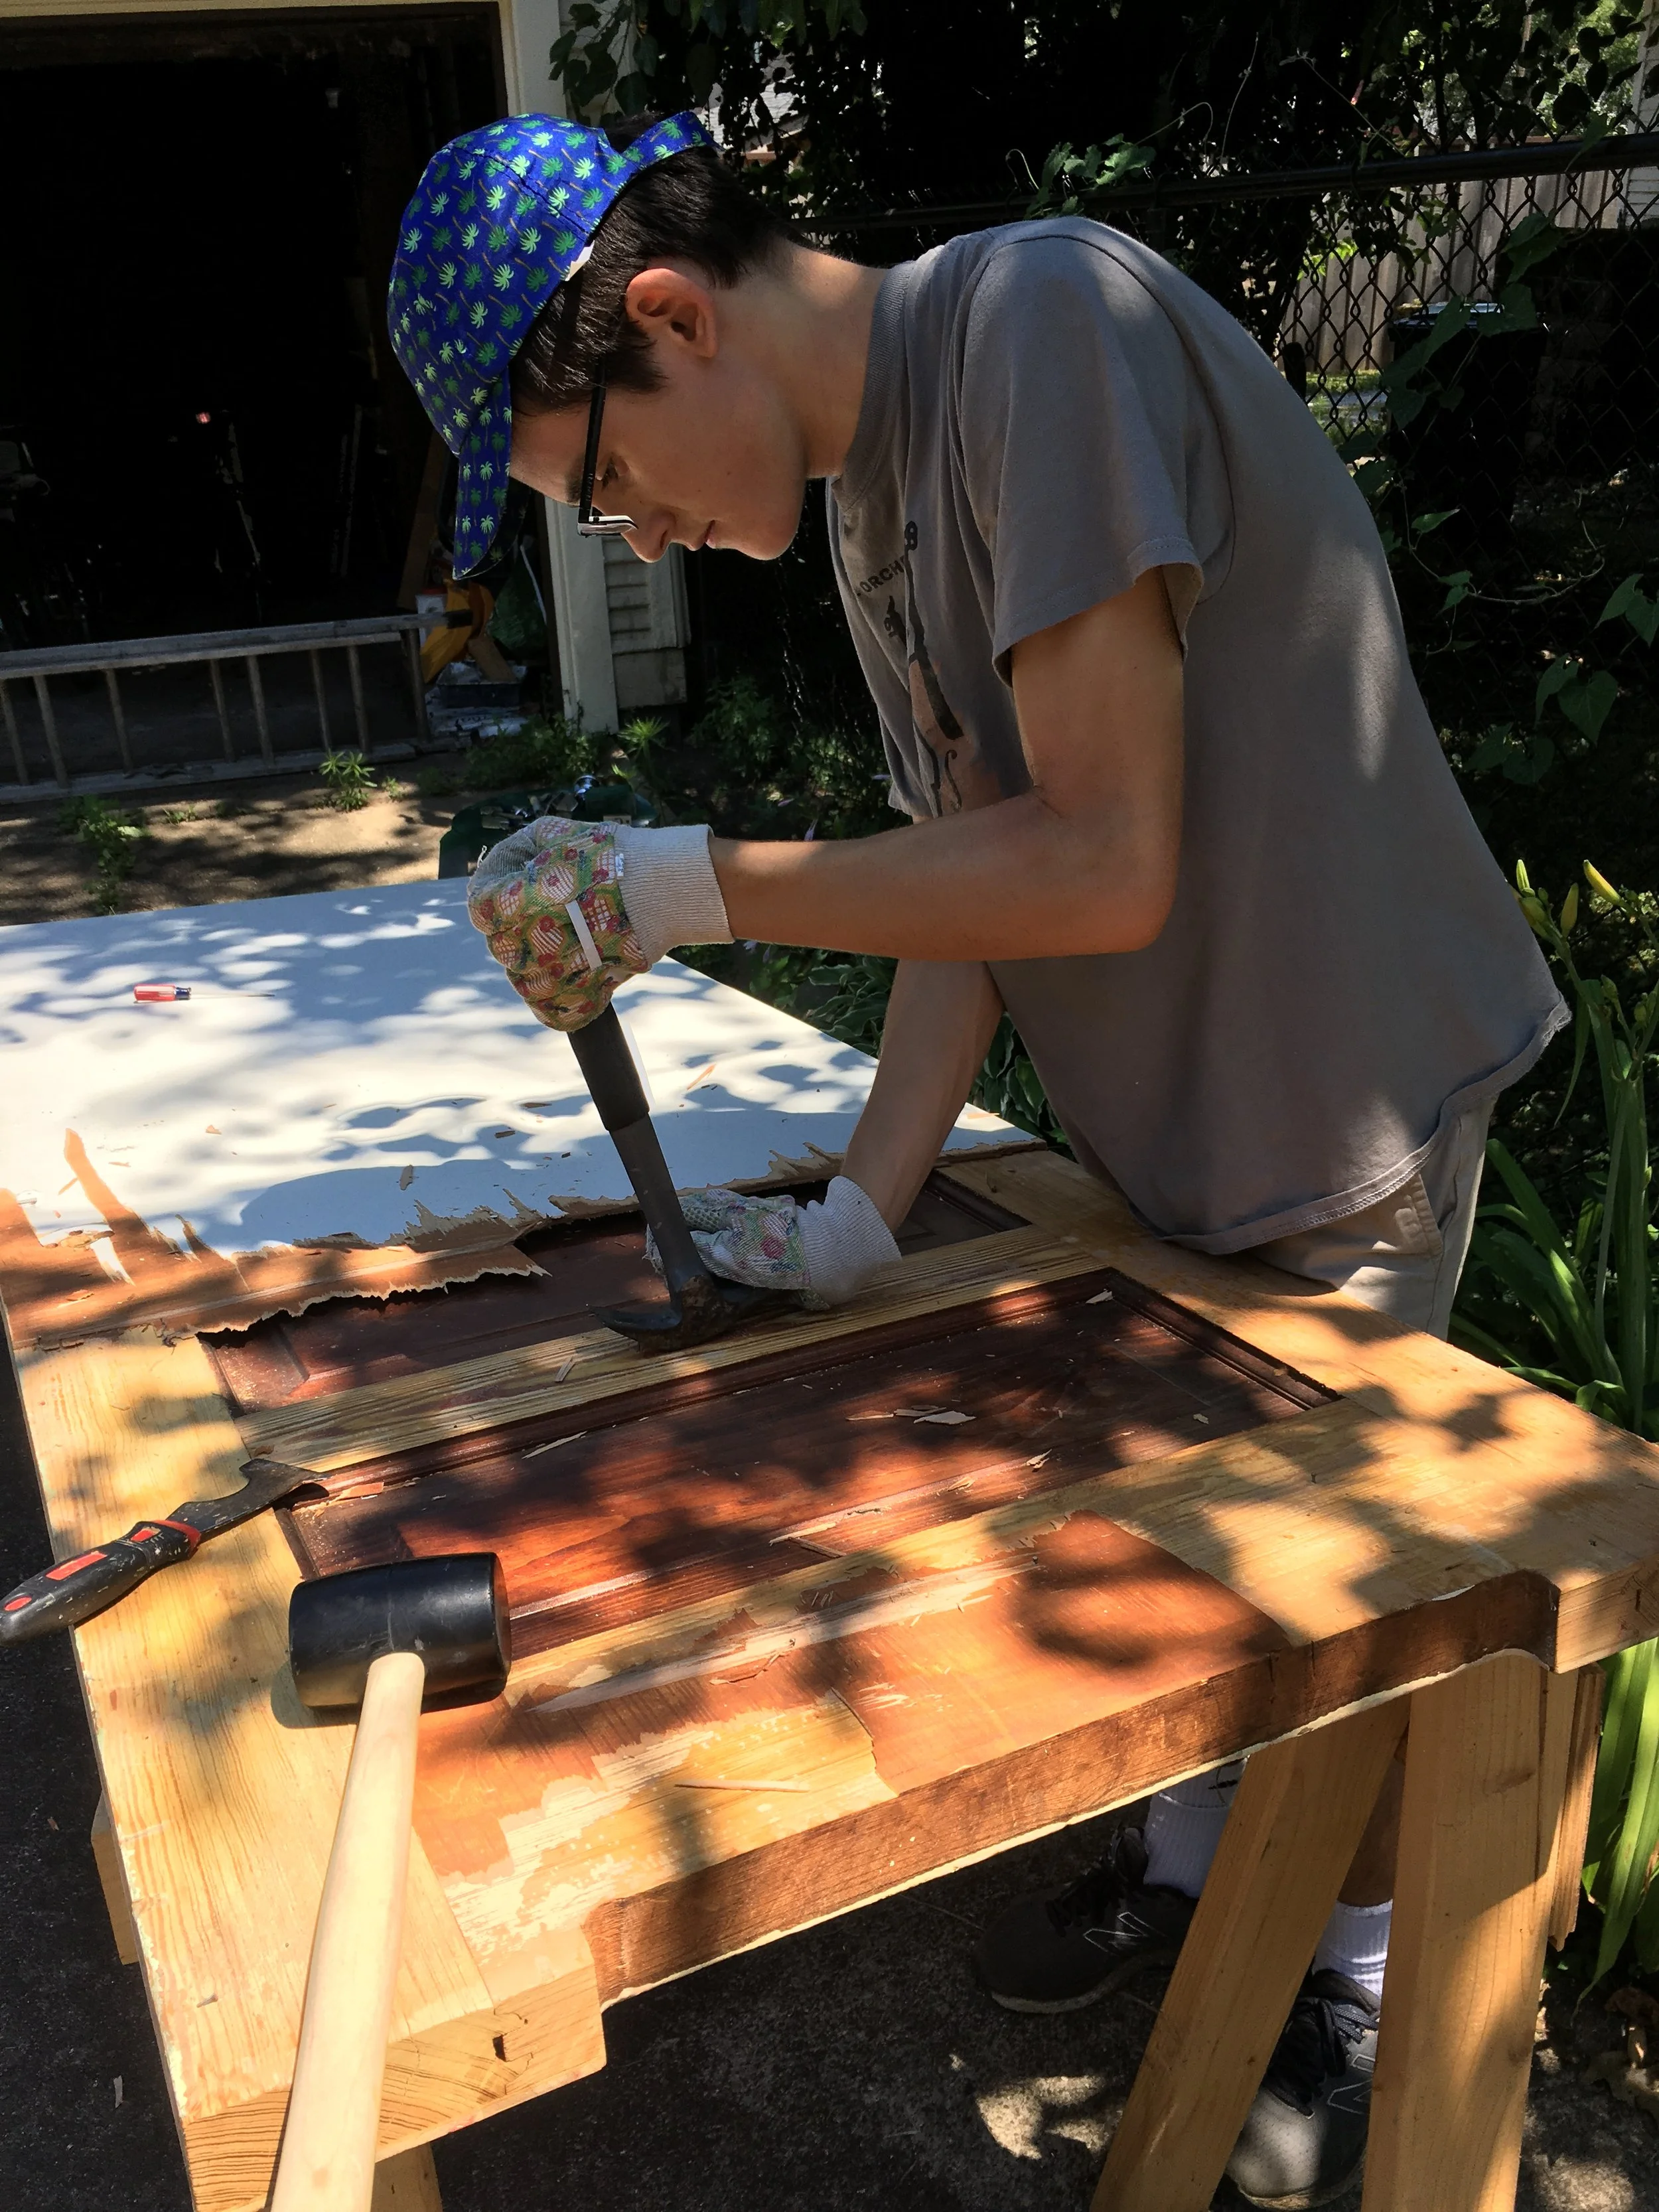
We first located the seam between the plywood and the original door. Working around the door’s edge, we hammered the crowbar into the seam, and used it as a wedge to peel off pieces of the plywood (scoring the plywood with a utility knife allowed us to break it off in sections). We wrapped the crowbar with an old towel to limit damage to the door underneath. A good morning’s worth of work had all the veneer removed from both sides of the door. (Note: don’t follow my example, wear safety goggles during this process!)
Sanding and More Sanding

With the plywood off, it was time to get sanding. We started with sandpaper, but quickly realized that we would never finish at the rate we were working. A $25 palm sander made the process much quicker and easier. Both sides of the door received multiple sandings, beginning with a heavy grit and finishing with a finer paper. Early on, we decided to avoid sanding the inset panels on the door. This would have needed to have been done by hand, and since the panels retained their original stain, we decided it wasn’t worth the time.
The edges of the door were coated in many layers of rubbery latex paint, so we knew that simply sanding wouldn’t get the job done. We purchased a cheap heat gun, which did the trick. Working in the mornings to avoid the summer heat, the entire sanding process took a good week.
Stain and Seal

For the staining and sealing process, we moved the door into the basement so that it could be sheltered as it was finished. We thoroughly cleaned the door to eliminate dust from the sanding. Then, we brushed on light coats of a dark oil-based stain, three coats per side. This was a very delicate process, as the stain had a tendency to drip and collect in crevices of the door. After the stain had time to soak in, we used a towel to gently wipe away excess stain.
Once we had thoroughly stained the door, we applied a water-based polyurethane sealant to each side, to preserve the surface and add a shiny finish.
Finished

After a good two weeks of work, the door was finished! Returned to its original location, the restored paneled design looks right at home among the original woodwork in the house. In addition, removing the plywood veneer made the door significantly more lightweight! Three more doors require the same treatment, but we feel much more confident after tackling the first one.
Have projects of your own to share? We’d love to hear about them! Contact us